Ceramic coating your car isn't just about making it shine—it's about preserving its essence, ensuring every drive feels like you're steering a masterpiece. For car enthusiasts like yourself, understanding each layer of this process ensures you get the most out of your investment and maintain confidence throughout.
We’ve put significant time into breaking down everything from setting up a contamination-free workspace to pinpointing imperfections on your vehicle’s surface. Imagine working in an indoor space free from dust or using specialized tools to remove stubborn debris embedded in your paintwork. This level of detail transforms anxiety into anticipation, paving the way for a seamless transition through our comprehensive guide.
Preparation Before Installation
It takes more than simply cleaning to get your car ready for ceramic coating. It requires intense attention to detail and an understanding of what is necessary for achieving the best results. Before any coating touches the surface, the paint must be in pristine condition. This means not just removing dirt and grime but also addressing any imperfections that might exist on the car's exterior.
Step I: Thorough Cleaning
Start by washing the vehicle with a pH-balanced shampoo to eliminate road grime, tar, and other contaminants from the surface. An effective wash includes both a two-bucket method—one for soapy water and one for rinsing your mitt—to minimize dirt being reintroduced onto the vehicle.
After washing, consider using a clay bar treatment to remove embedded contaminants that regular washes cannot reach.
Step II: Assessing Paint Condition
Once clean, take a moment to thoroughly inspect the paint condition under bright lighting. Look for oxidation, which may affect how well the coating bonds to the surface. Prior to applying a coating, any existing defects must be fixed using paint correction processes.
This can involve machine polishing, where polishers are used to smooth out imperfections and enhance gloss. Think of this as preparing a canvas before an artist begins their masterpiece—it’s essential for achieving optimal results.
Step III: Final Touches
After correcting any imperfections, it's time for a final round of inspection and cleaning. Wipe down all surfaces with a solution to remove any oils or residues left behind from handling or correcting products. This prepares the surface by eliminating anything that might hinder adhesion.
Additionally, keep in mind that humidity levels should be monitored; high humidity can negatively impact curing times and overall effectiveness.
Cleaning and Surface Inspection
The process of preparing your car for ceramic coating begins with a clean slate. A pristine surface is essential for ensuring that the ceramic coat adheres properly. Any dirt, grease, or other contaminants left on the surface can significantly hinder the bonding process and undermine the overall effectiveness of the coating over time. Taking the time to meticulously clean your car is a necessity.
Deep Cleaning Process
The journey toward a flawless finish starts with a thorough wash using a pH-neutral car shampoo. This kind of shampoo is designed to break down dirt and debris without harming the paint's protective layers. It's crucial to rinse well during this initial stage to avoid leaving any soap residue that could interfere with the coating's adhesion later.
After washing, you’ll want to use specialized products to dissolve fine particles that may have embedded into your vehicle’s paint. They work through a chemical reaction with these contaminants, allowing you to wipe them away easily and ensuring that nothing stands in the way of a successful coating.
Next comes the clay bar treatment; this step removes stubborn contaminants that may not be visible but certainly affect the feel and appearance of your car's surface. As you glide the clay bar across the paint, you'll notice how it picks up microscopic particles, leaving behind a smooth surface perfect for coating.
Surface Inspection
After completing the thorough cleaning process, conducting a comprehensive inspection is essential. This involves both visual and tactile assessments. First, visually scan the entire surface area for imperfections. Taking your time here is crucial; sometimes these blemishes are simple to miss if you're rushing.
However, visual inspection alone isn’t sufficient. You should also run your hand gently across various parts of the surface. Pay close attention to how it feels—any rough areas should be addressed before applying the ceramic coating. A smooth surface will enhance adhesion and provide a better aesthetic outcome once finished.
Paint Correction and Detailing
The process of paint correction is an essential part of getting your vehicle ready for ceramic coating. Before that glossy layer can be applied, it's vital to address any imperfections that can detract from the overall appearance and durability of the coating. Think of it as giving a clean slate for the new protective finish; without this step, you risk trapping flaws under the coating.
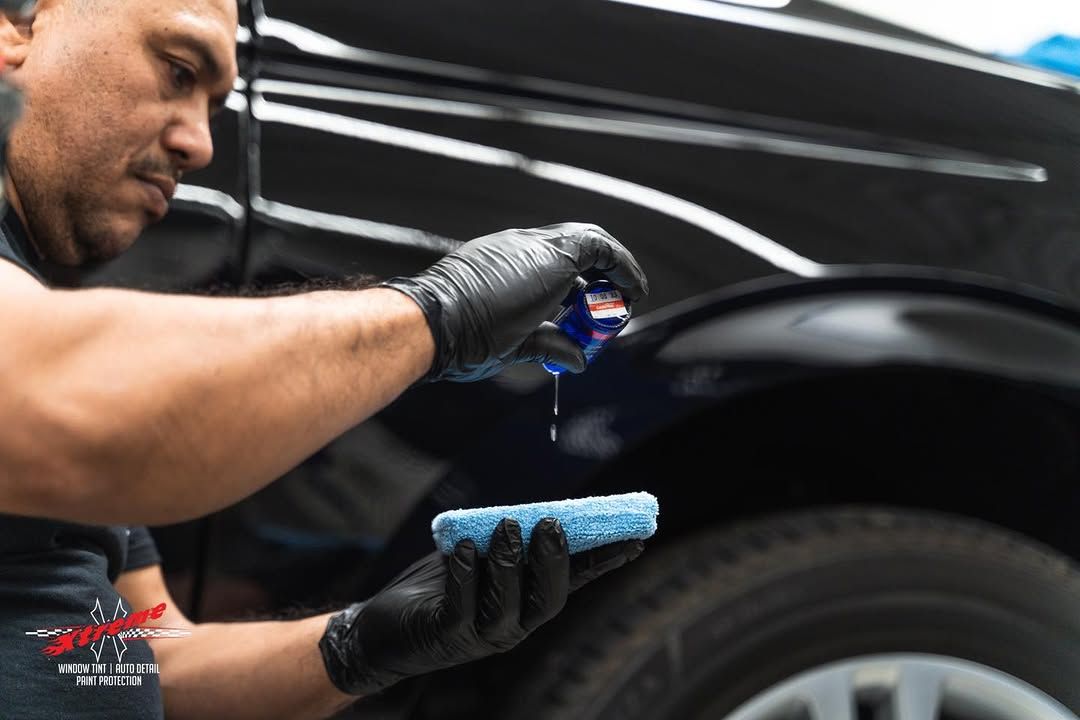
Ceramic Coating Application
Applying the ceramic coating requires a careful, methodical approach because even the slightest oversight can affect the final finish.
Step I: Preparing the Coating Solution
Now that everything is ready, the car has to have the finish applied. Working in small sections—usually about 2x2 feet—allows for meticulous attention and control over the application process. It's essential to utilize a crisscross pattern while applying; this method ensures that the product spreads evenly across the surface. Failing to maintain this consistency can result in uneven patches or excessive buildup in certain areas, which is visually unappealing and may compromise the protective qualities of the coating.
These critical points ensure a successful application:
- Use steady pressure and avoid pressing too hard on the applicator pad.
- Take your time, as hurrying can result in errors.
- Keep your sections manageable—if possible, work with a partner to maintain focus.
Step II: Applying the Coating
Once applied, it’s important to let the coating bond with the surface for several minutes. This is where patience pays off. After this bonding period, gently buff off any excess using a clean microfiber cloth. This step not only enhances shine but also ensures an even finish throughout.
Repetition is key here—move from section to section until you've completely coated every part of your vehicle. In my experience, having several clean microfiber cloths on hand helps maintain quality during buffing, preventing dust or trapped particles from marring your freshly applied layer.
Step III: Buffing the Coating
Once the application is complete, we transition into the layering and drying stages, which are crucial for achieving that showroom-quality finish. Allowing adequate time for drying between layers enables each coat to cure properly and maximizes durability.
Layering and Drying Time
Layering is one of the key features that elevates the performance of a ceramic coating. Adding more layers not only makes your car more visually appealing but also strengthens its defense against contaminants from the environment. Generally, a second or even a third layer can be applied after the initial coat has sufficiently been set, which typically takes between 30 minutes and one hour. This interval allows the first layer to bond properly, creating a strong base for additional layers. Each subsequent application results in greater durability and a more lustrous shine.
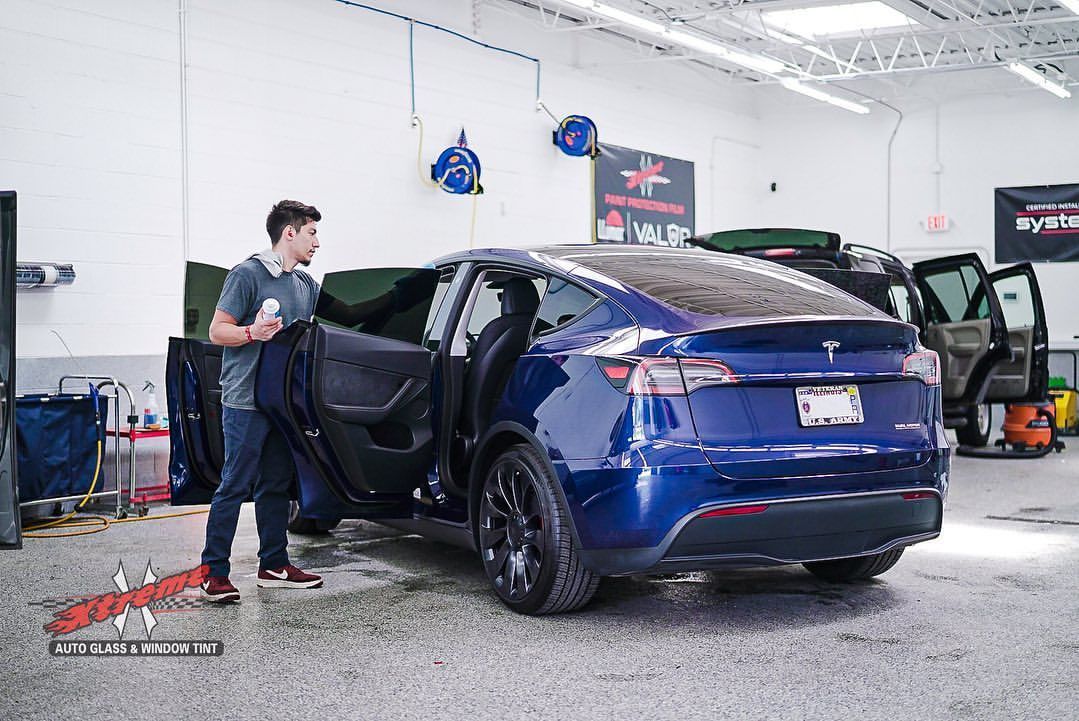
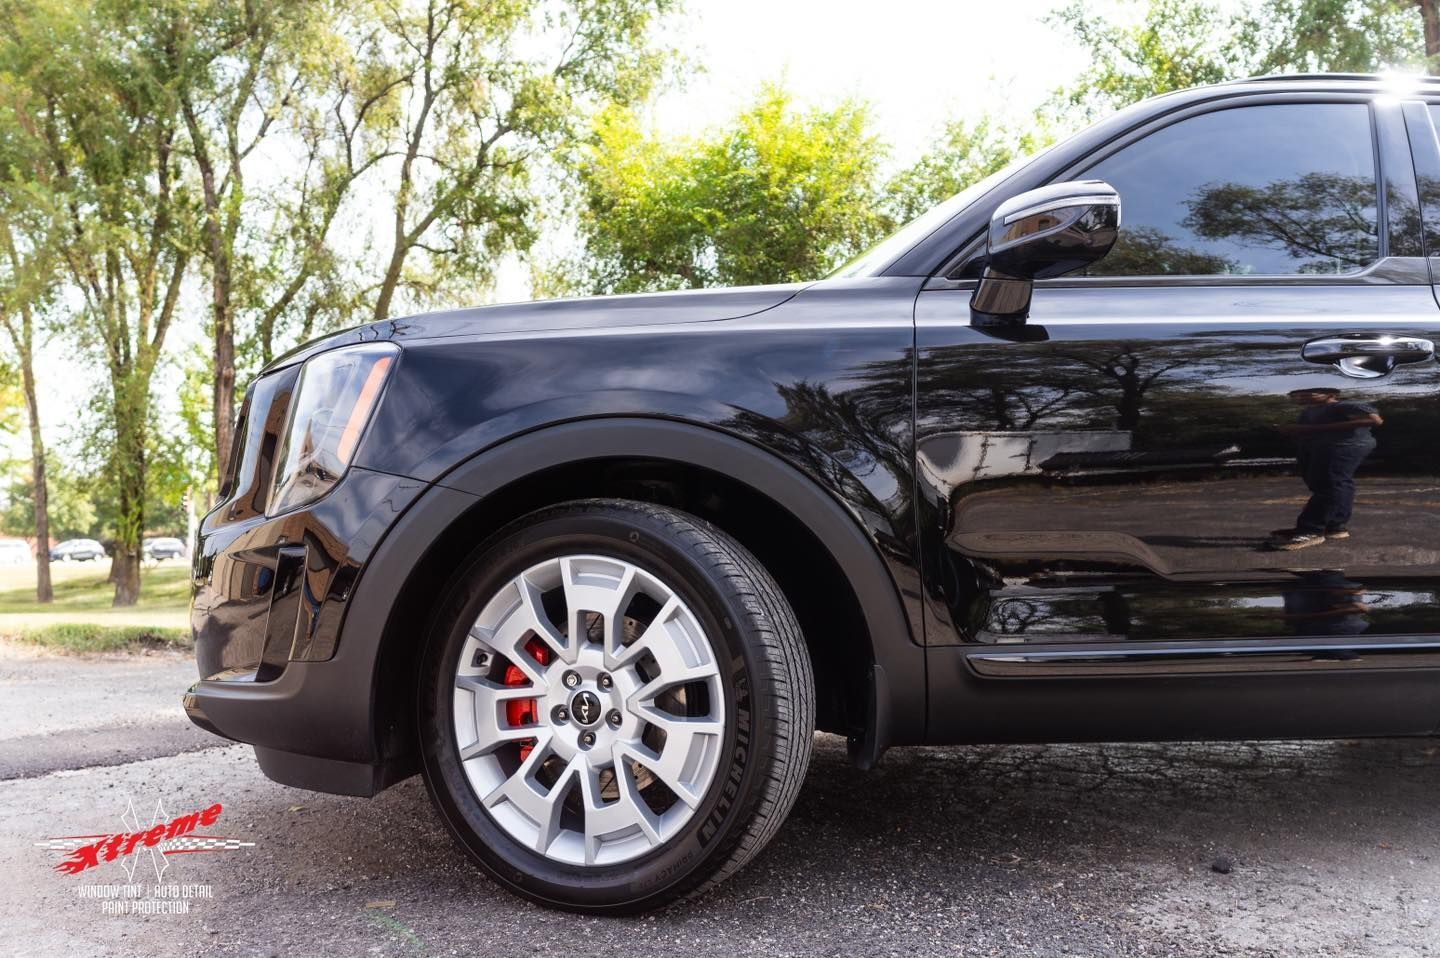
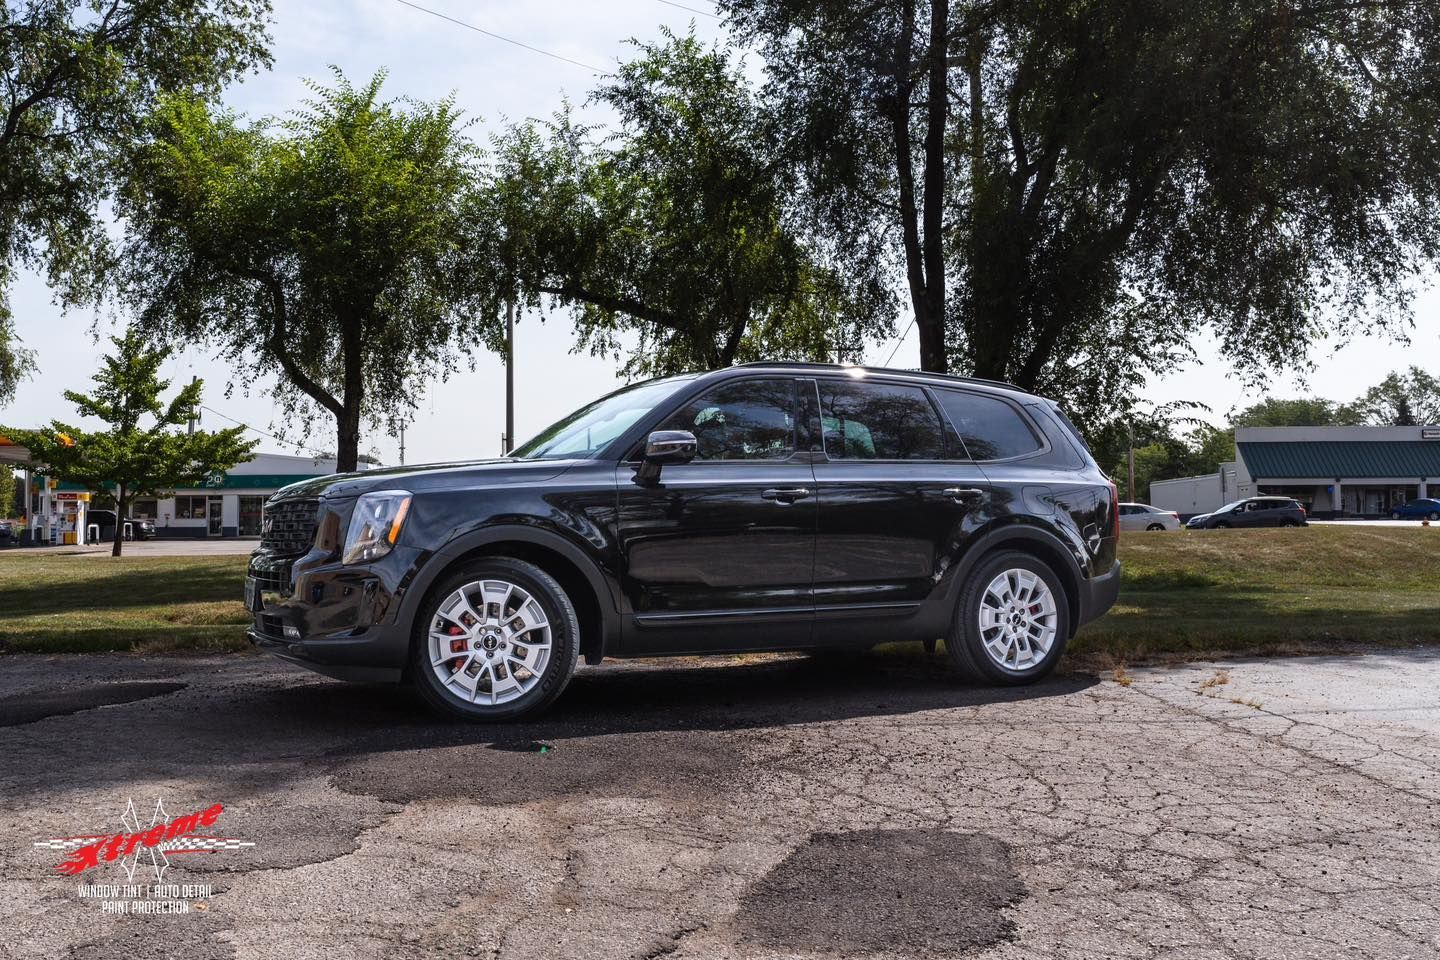
Contact the Leading Ceramic Coating Service in Addison, IL
Choosing Xtreme Auto Glass & Window Tint for ceramic coating installation ensures that everything runs smoothly and professionally from start to finish. Our trained specialists will carefully prepare your car's exterior to ensure the best possible adhesion and coating durability.
Your car is in the best hands thanks to our CARPRO CQUARTZ Ceramic Coating Professionals. Never accept anything less than the finest;
get in touch with Xtreme Auto Glass & Window Tint to discover the benefits of a ceramic coating installation done by professionals. Call
(630) 457-8109 today!
Share with your friends
Xtreme Auto Glass & Window Tint Blog